Showing posts with label awesome craftiness. Show all posts

Sunday, November 6, 2011

PECS Book

I've mentioned AJ's PECS before.  PECS stands for Picture Exchange Communication System.  Taken from this website, here is the easiest way to explain PECS:

PECS begins by teaching an individual to give a picture of a desired item to a “communicative partner", who immediately honors the exchange as a request.

At the beginning of the 2010 school year (his 2nd year in preschool) his school SLP and I decided it was time for PECS.  She made him a small PECS book from a small binder (think day planner size).  After asking if she had another binder the same size, I made one for him to use at home. Since I am in the middle of making him his 2nd (BIGGER) PECS book, I figured I should get these photos on here ASAP!  I was thrilled to finally find the pictures on our old laptop to share with all of you!  


Supplies Needed:
Small Binder
Velcro "Rough" & "Soft"
Pendaflex Poly Clear "EasyView" File Folders
Cardstock or Construction Paper 
Computer/Word Document
Laminator/Paper Cutter/Hole Punch

First, eyeball how long your velcro strips will be and cut to size.  Choose either the rough OR soft but make sure to cut the same "texture" for mounting on the top of the binder and each page.
 I chose the "rough".
I used the label sheet for the folders to decide on the right size pages.
Cut your folders in half first.
Then cut to desired size.
Make sure they fit, then hole punch.  Er, it is a bit tricky to line it up. 
 I made marks with a pen.
(Make sure your binder surface is clean!)
Mount your velcro on the front.
And on each page.
I created a table in MS Word, making sure each row/column was 2x2 inches.  
I inserted pictures of AJ's things and also used general images from online.  
I cut red pieces of cardstock 2.25x2.25 inches to back the photos.  Red  is the color AJ is drawn to.
I ran the pictures through my laminator

*NOT PICTURED*
I then cut them, cut squares of "soft" velcro and placed
a square on the back of each picture.


Here, I've put them into categories.  
When we first started, they were all mixed together.
And finally, here are some photos of my little man
COMMUNICATING!


Thursday, February 24, 2011

Dollar Dino's

One of AJ's recent preschool units was on Dinosaurs.  I stopped in the local dollar store to see if I could find a bag of small dinosaurs to sort. 

Well, I hit the dino jackpot!

While I didn't take pictures of all of our activities in process, I did take some.

Laundry bag:I set out the bag of wooden dinosaur cutouts (see 1st photo) as a reference for the shape of a dinosaur.  I drew a dinosaur with a Sharpie-freehand.
Carefully, I cut on the inside my marker lines-cutting through both
sides of the bag-which made 2 dinosaurs.
We dipped the poly scrubbers (1st photo) into fabric paint and
made spots on our dinosaurs.
------------------------------------------------

Foam Circles:
We used the green, yellow,and purple circles for a balance activity. 
I placed two of each color on top of each other to give them a little dimension.  Place them on the floor and stomp from each circle. Note: Save the circles and for future use with a homemade game of Twister, dice, or another activity, such as making a circle frame craft with your child's picture for his/her grandparents .  I thought this package was great with the variety of colors...for $1!
-------------------------------------------------------
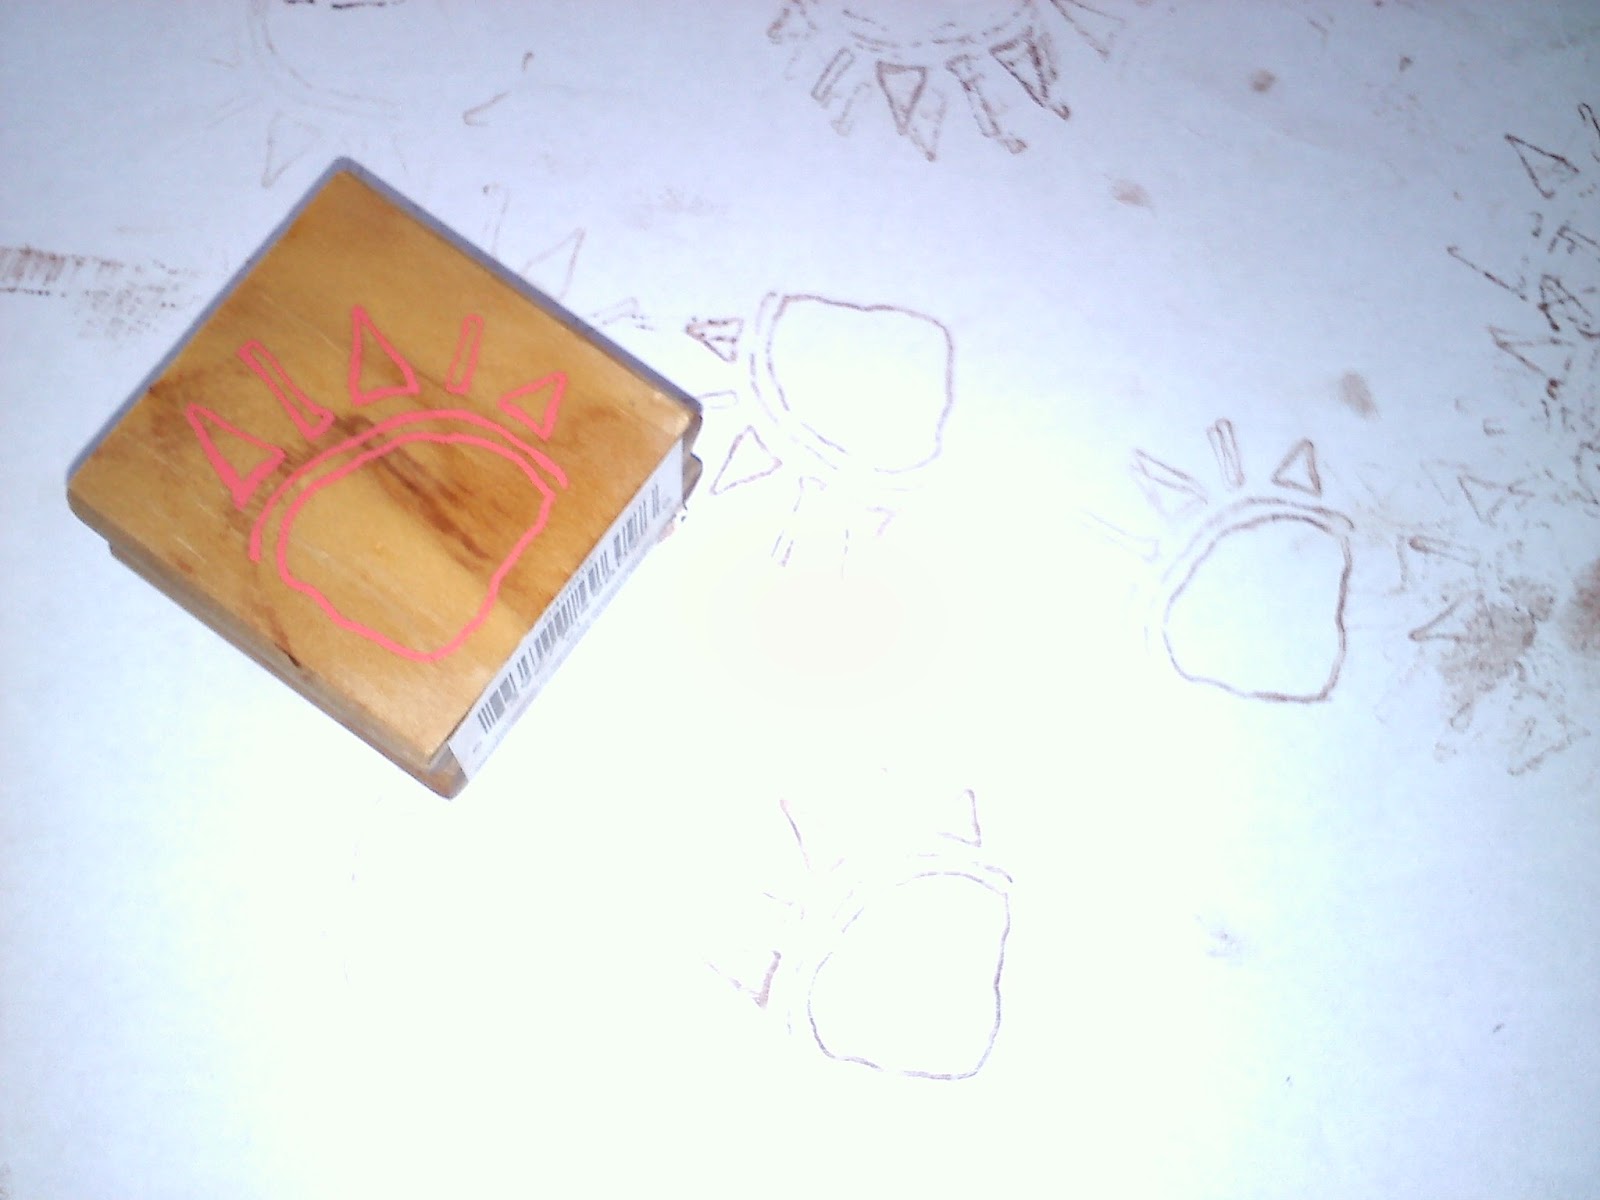
Stamp:
The stamp looked like a dinosaur footprint to me!
(Look at him use his left hand!)
-----------------------------------------------------

This came home in AJ's backpack one day-they made soap dinosaur eggs! It took a good few days to use up all the soap, but at the end AJ had a pterodactyl!
------------------------------------------------------------


Not Pictured:
*We decorated our wooden dinosaur cutouts-we had plenty leftover for future use.  Idea: Tie their tails together to make dino-garland.
*We sorted small dinosaurs by the number of feet they had.
*I printed out dinosaur coloring pages and cut the sponges into small circles.  We dipped the sponge circles into paint and made spots on our dinosaurs.
*We played with 3 different dinosaurs (play size-also found at the dollar store) and felt their different textures, weights, etc.

Food Ideas:
Macaroni & Cheese with Broccoli Trees-What herbivores eat!
Speckled Chocolate Easter Egg Candy-Dinosaur Eggs
Dinosaur Fruit Snacks
Dinosaur-Shaped Chicken Nuggets
Chocolate/Vanilla Pudding Swirl-Mud/Swamp
Click here for more cool food ideas...I think the "swamp mud" sounds awesome!

Saturday, January 1, 2011

Noodle Ornaments

AJ and I made noodle ornaments for his Grandparents this year for Christmas. I got the idea from an ornament I made in 3rd grade...that I still have. 

Supplies Needed:Macaroni Noodles/Any Small Variety of Dry Pasta
Shape to Trace
Ribbon
Hole Punch (not pictured)
Craft Glue
Spray Paint
Cardstock or Construction Paper
Scrap Piece of Cardboard

 Trace and cut your shapes & Punch your holes
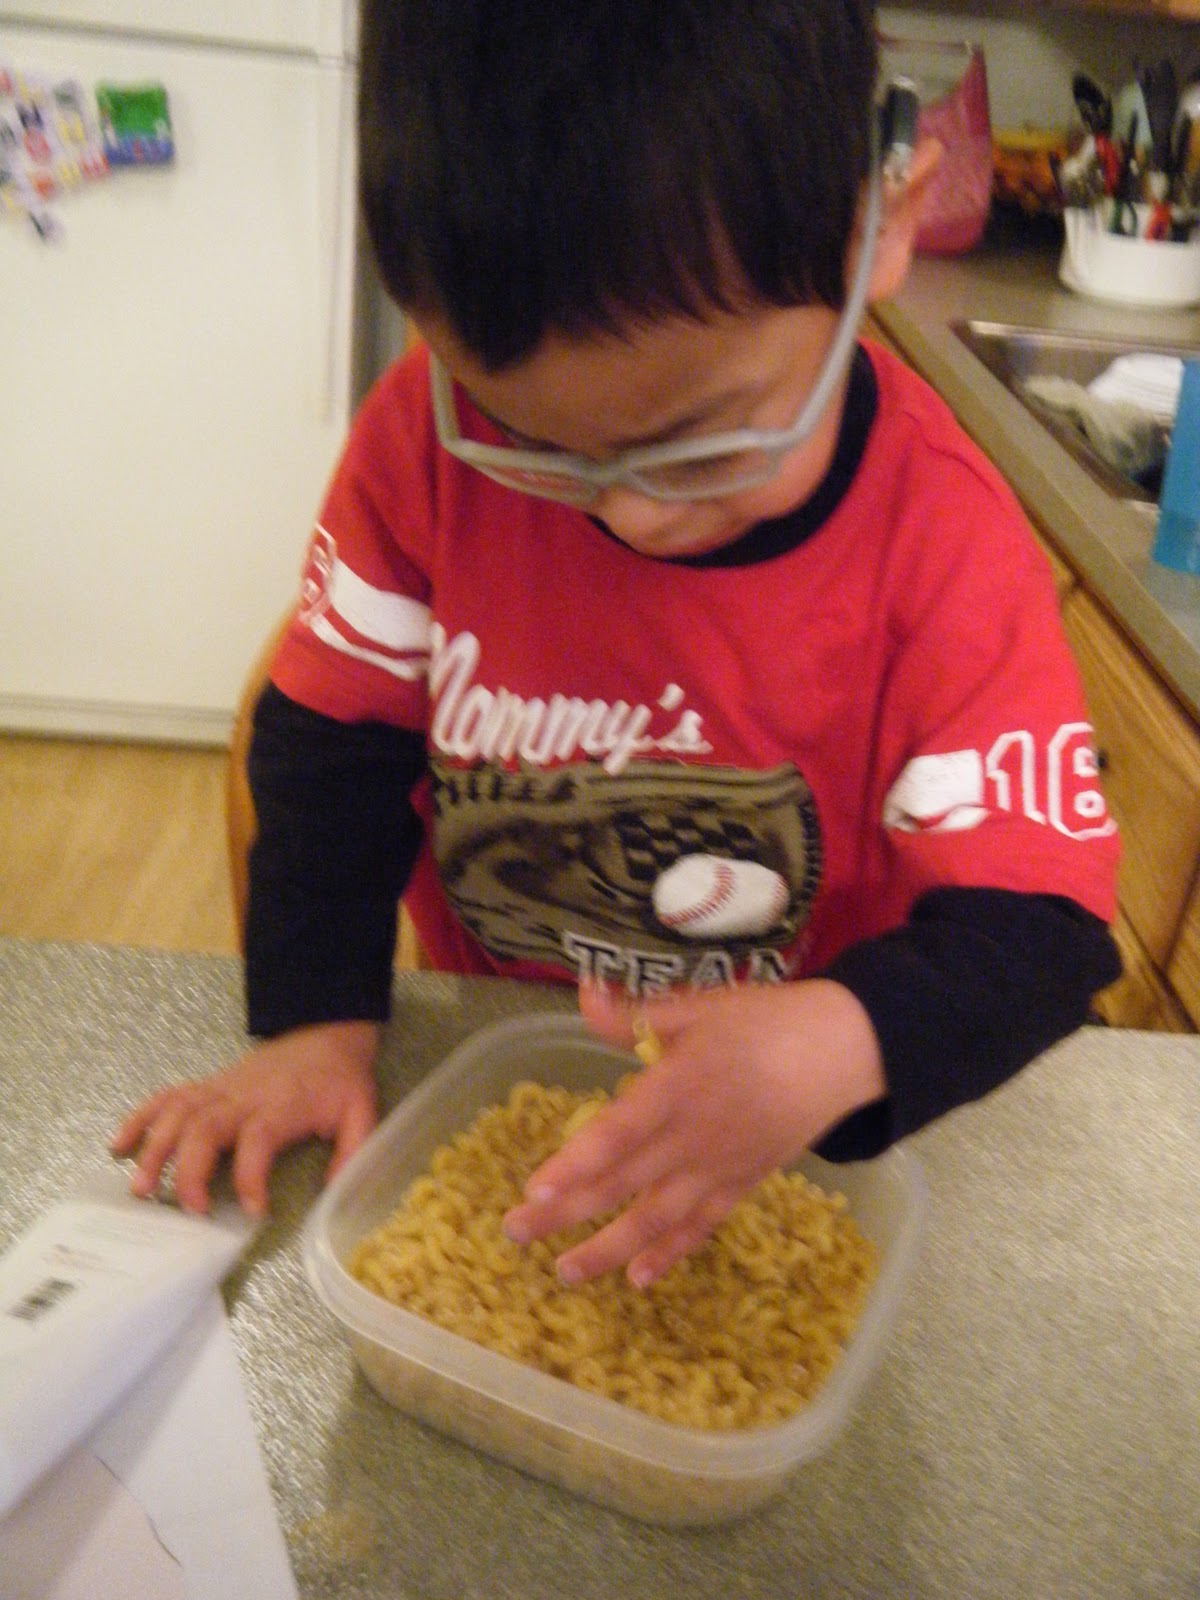
 Apply glue and smudge it all over with your fingers...
 Call your craftyman...
 Place macaroni on glue.  Try not to cover the hole you punched.
 Carefully flip to and repeat on the other side. 
 Allow time for the glue to dry.
 Adults: Spraypaint one side at a time with your color of choice. 
Metallics work really well.
 Add ribbon and a year tag, and VOILA!

Monday, November 15, 2010

Family Match Game

One of the first theme for AJ's preschool class was Families.  I picked up this at Walmart one day (because Daddy likes Curious George and it was cheap):

And ended up making our very own Family Match Game!

I made a simple two column/three row table in Microsoft Word.  I cropped as needed, then copied and pasted family photos into each space, sizing each to 2.5x 2.5 inches.  Easy Peasy. 

I printed each sheet twice...
Then cut them out...
 Then matched everyone up to double check I had everyone present...
Then  laminated them and cut them out.  I place them face down, with the white side of the paper facing up, and AJ has to match his family and friends.  We are working on a set of 4 right now (which means 2 people), but I made this with the intent to make it more challenging as we go along.  I plan to add our pets and his school staff to this game too.

FUN!


Pumpkin Spice Scented Play Dough


I found this recipe for homemade play dough.  As if that wasn't exciting enough, the recipe included ideas as to how make your play dough scented.  We've made the pumpkin spice scented one, I'm anxious to try the apple pie one too.

Homemade Play Dough
1 cup flour
1/2 cup salt
1 TBSP cooking oil
1 TBSP cream of tartar
1 cup water
Food coloring
Add-Ins: spices, glitters, etc.1 tsp or more
(add to your liking-I used about 2 1/2 tsp of pumpkin pie spice)

Measure ingredients into medium sized pot-mix them well before heating.  Over medium heat, cook the dough, stirring constantly until it forms a ball.  Turn the dough onto a board and knead until very smooth.  It will be warm to the touch, but try to knead it until it becomes a nice, smooth ball.  Cool. Store in a ziploc bag or plastic container.


Sunday, November 7, 2010

Make-Your-Own Mud Pudding

As I've mentioned before, AJ's preschool class has themes throughout the year.  This last Spring (I said I was behind in posting, this is like way behind) one of the themes was The Farm.  They also used the book Mrs. Wishy Washy.  I did some searching on one of my favorite websites and found this:
Pudding in Baby Food Jar Recipe-Great to Use the book Mrs. Wishy Washy

Supplies:
1 box SUGAR FREE chocolate pudding
You must use sugar free or it won't turn out
Baby food jars (emptied/washed/dried)
Milk
*Optional: animal crackers

Measure 1TBSP AND 1 TSP of pudding
Place into jar.

Add 1/4 cup milk

Place lid on tight and SHAKE!

It will darken as it thickens...

Add some animal crackers...

Enjoy!


For the original recipe and a printout of the directions, click HERE.

Directions for Leaving a Comment:

Scroll down to the bottom the post you wish to comment on. You will see the time/date stamp on the bottom along with the number of comments and a small envelope. Do NOT click on the envelope! Click on the "0 Comments".

A text box will appear for you to write your comment. You can use Anonymous, just leave your name at the end of your comment so we know who you are! Thanks!